And let’s move on to the second post in the series!
If you want to see what we discussed in the first post of the series where I talk about the objective and how to configure the local environment, I recommend starting here:
Terraform: Taking the Next Step – Building Infrastructure from Scratch on GCP
What we’re going to do today:
- Create a project on GCP
I'm not going to create a whole organization here, I'm going to create simple projects in a personal account, but let's not consider this as best practices in a corporate environment, ok?
- Create a Service Account with specific permissions
- Generate the authentication key (JSON)
- Configure the environment variable for Terraform to access GCP
1. Creating the project on GCP
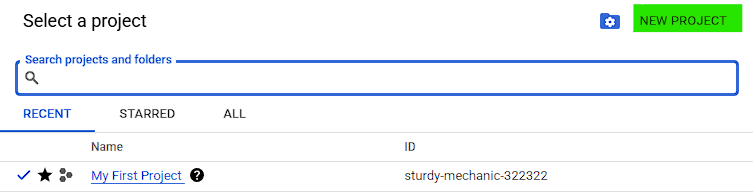
- Access the [GCP Console](https://console.cloud.google.com/)
- Click on the project selector (top left corner) > **New Project**

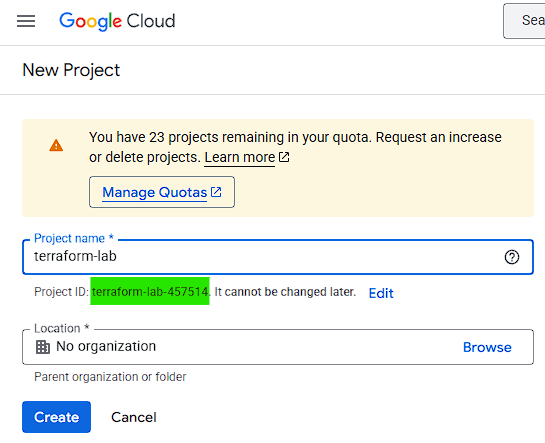
- Give it a name (e.g.
terraform-lab) and click "Create" - Save the project ID — we'll use it later
Remember to select the newly created project in the project selector!
2. Creating a Service Account
- In the GCP menu, go to **IAM & Admin > Service Accounts**
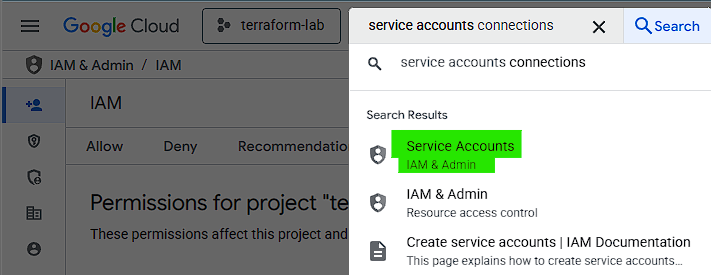
- Click on "Create service account"

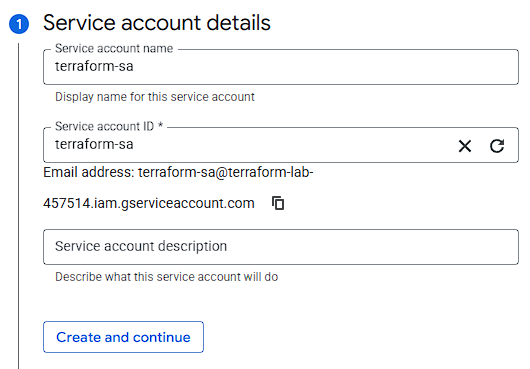
- Name:
terraform-sa
- Permissions:
- **Editor** (or, for something more secure: Compute Admin, Storage Admin, etc.)
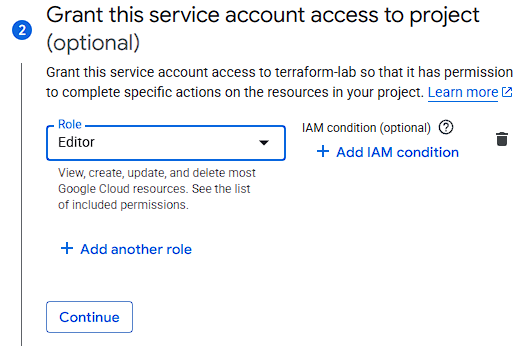
- Finish and click "Create key" > **JSON**
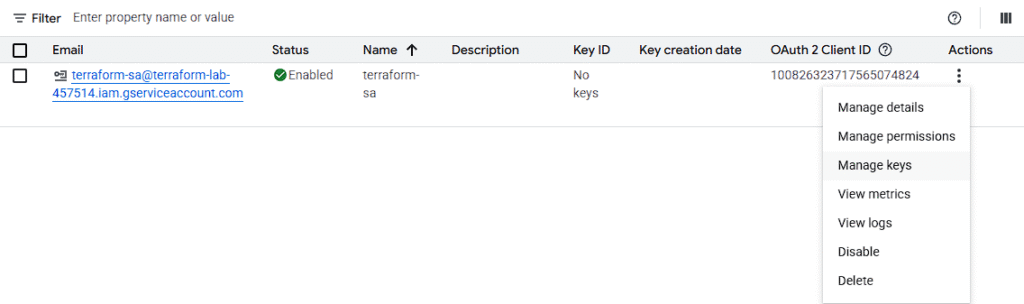


- Save the
terraform-sa-key.jsonfile in a secure location
3. Exporting the key for Terraform
In the terminal, set the environment variable:
export GOOGLE_APPLICATION_CREDENTIALS="/path/to/terraform-sa-key.json"Or if you’re using PowerShell:
[System.Environment]::SetEnvironmentVariable("GOOGLE_APPLICATION_CREDENTIALS", "/path/to/terraform-sa-key.json", [System.EnvironmentVariableTarget]::User)In the next post we’ll create our first Terraform project, defining the file structure and creating a real resource (like a VPC and/or GCS bucket).